Key Takeaway
Create your first GoHighLevel workflow from scratch — triggers, actions, conditions, wait steps and best practices. Beginner-friendly with screenshots.
Intro
GoHighLevel workflows automate tasks like sending SMS, assigning leads, and triggering follow-ups. However, many users struggle to understand how to create a GoHighLevel workflow correctly, which leads to automations that never run.
This guide explains exactly how to create a GoHighLevel workflow step-by-step, including triggers, actions, testing, and common mistakes.
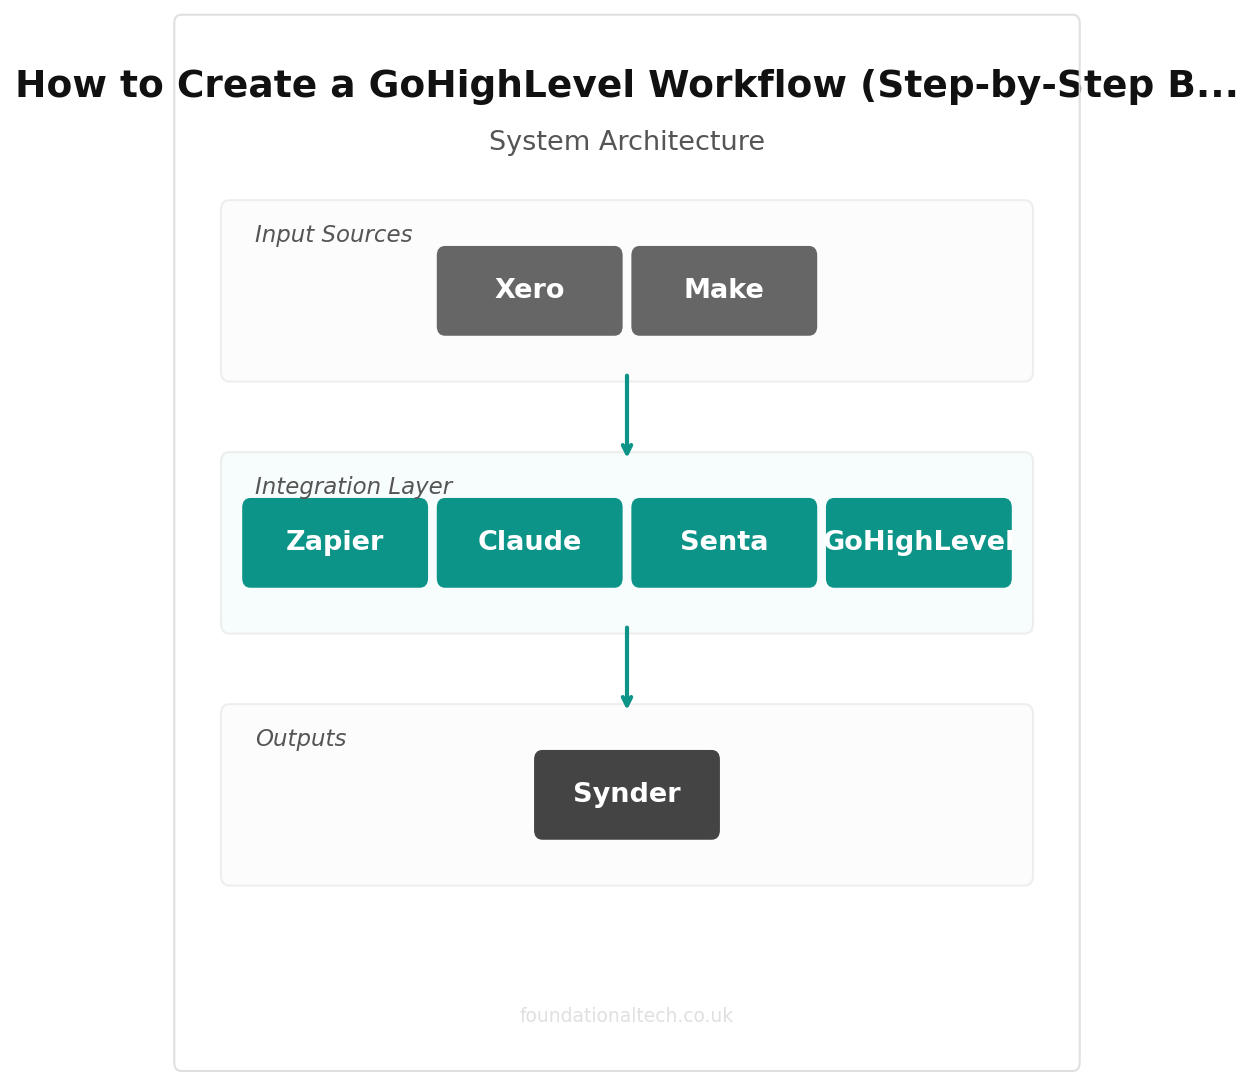
Quick Answer
To create a GoHighLevel workflow, navigate to Automation → Workflows, click Create Workflow, choose a trigger event (such as form submission or tag added), then add actions like sending SMS, emails, or assigning leads. Finally, publish the workflow so it can run automatically when the trigger conditions are met.
Workflows are useful whenever an action should happen automatically after a trigger event.
Common examples include:
• sending SMS after a missed call
• sending welcome emails after form submissions
• assigning leads to sales teams
• sending appointment reminders
• tagging leads for segmentation
If your business performs a task repeatedly inside the CRM, it can usually be automated with a workflow.
AI Summary
GoHighLevel workflows automate business processes by starting with a trigger event (for example, a form submission) followed by one or more actions such as sending messages, updating records, or assigning leads. Once published, the workflow automatically executes whenever the trigger conditions are met.
What This Solves
Many businesses perform repetitive tasks manually:
• sending lead confirmation emails
• assigning leads to sales reps
• sending appointment reminders
• following up with prospects
Workflows automate these processes.
A GoHighLevel workflow works using two core components:
Trigger
The event that starts the automation.
Action
The steps that happen after the trigger.
For example:
Lead submits form → Send SMS → Notify sales team → Add tag.
Workflows automate repetitive tasks and allow CRM systems to execute actions automatically once the defined trigger occurs.
Tools Required
To implement the automation described in this guide you typically use:
• GoHighLevel — CRM and automation engine
• Zapier — optional integrations
• Make — advanced automation workflows
Most workflows can be built entirely inside GoHighLevel.
Step-by-Step Setup
Follow these steps to create your first GoHighLevel workflow.
Step 1 — Open the Workflow Builder
Log into your GoHighLevel account.
Navigate to Automation → Workflows
Click Create Workflow.
You can either:
• Start from scratch
• Use a template
Step 2 — Name the Workflow
Give the workflow a clear name.
Example:
Lead Form Follow-Up
New Lead Welcome Sequence
Appointment Reminder Automation
Clear naming is important when managing dozens of automations.
Step 3 — Add a Trigger
Triggers start the workflow.
Click Add New Workflow Trigger
Common trigger examples:
• Form Submitted
• Tag Added
• Appointment Booked
• Contact Created
• Pipeline Stage Changed
Example configuration:
Trigger
Form Submitted
Form
Website Lead Form
This means the workflow will run whenever that form is submitted.
Triggers start workflows automatically when a defined event occurs within the CRM system.
| Trigger Event | Common Action | Use Case |
|---|---|---|
| Form Submitted | Send Welcome Email | New lead capture |
| Missed Call | Send SMS | Lead recovery |
| Tag Added | Move Pipeline Stage | Lead qualification |
| Appointment Booked | Send Confirmation | Booking management |
| Invoice Paid | Send Thank You | Client retention |
Step 4 — Add Trigger Filters (Optional)
Filters control who enters the workflow.
Example:
Tag = New Lead
or
Pipeline Stage = Consultation
Filters help prevent incorrect contacts from entering automation.
Step 5 — Add Workflow Actions
Actions are the tasks that run after the trigger.
Common actions include:
• Send SMS
• Send Email
• Assign User
• Add Tag
• Create Task
• Wait Delay
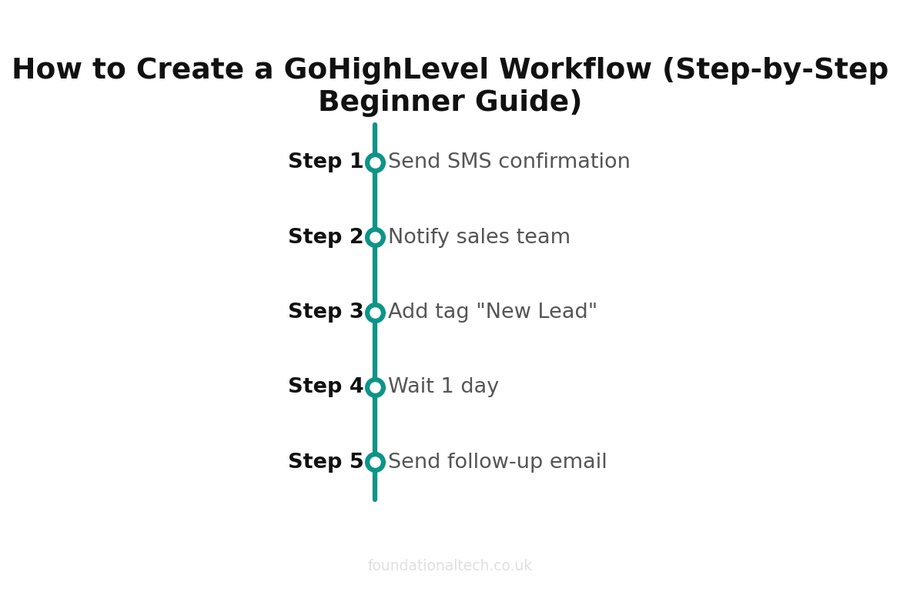
Example workflow:
Trigger
Form Submitted
Actions:
Send SMS confirmation
Notify sales team
Add tag "New Lead"
Wait 1 day
Send follow-up email
This sequence creates an automated lead response system.
Step 6 — Add Delays or Conditions
More advanced workflows use:
Wait Steps
IF/Else conditions
Branch logic
Example:
IF Lead Score > 50
→ Assign to senior sales rep
ELSE
→ Assign to junior sales rep
This allows complex automation logic.
Step 7 — Publish the Workflow
One of the most common mistakes is forgetting to activate the workflow.
Click Publish
If the workflow remains in draft mode, it will not run.
Example Configuration
Example automation for a marketing agency.
Workflow Name
New Lead Follow-Up
Trigger
Form Submitted → "Website Contact Form"
Actions
Send SMS
"Thanks for contacting us. We will reply shortly."Send Email
Welcome message with service details.Notify Team
Internal notification to sales rep.Add Tag
"New Lead"
This ensures every new lead receives immediate communication.
Testing the Automation
Testing is essential.
Follow this process:
Submit the form yourself
Check contact record in CRM
Verify workflow history
Confirm SMS or email delivery
If the workflow ran correctly, you should see the execution inside Workflow Logs.
Common Errors
Workflow Not Triggering
Cause
Wrong trigger selected.
Fix
Verify the trigger type matches the event.
Example
If using Form Submitted, the correct form must be selected.
Workflow Not Published
Cause
Workflow still in draft mode.
Fix
Click Publish.
Filters Blocking Contacts
Cause
Filters exclude contacts.
Fix
Remove unnecessary conditions.
Automation failures usually occur because the trigger, conditions, or actions are misconfigured rather than because the system itself is broken.
Best Practices
Follow these guidelines when building workflows.
Start simple
Build basic automations before adding complex logic.
Use clear names
Example:
Lead-FollowUp-Workflow
Avoid duplicate triggers
Multiple triggers can cause duplicate messages.
Test everything
Always run a test contact through the workflow.
Audit workflows monthly
Remove unused or outdated automations.
Key Takeaways:
GoHighLevel workflows automate business processes by combining triggers (events that start automation) with actions (tasks performed automatically). Once published, workflows run automatically whenever the trigger conditions occur, allowing businesses to automate communication, lead management, and follow-ups.
5 Components
Every GHL workflow needs: a trigger, optional filters, actions, conditions, and publishing
Frequently Asked Questions
What is a GoHighLevel workflow?
A GoHighLevel workflow is an automation system inside the CRM that performs actions automatically when a trigger event occurs. For example, a workflow can send an SMS after a missed call, assign a lead to a sales representative, or send follow-up emails after a form submission.
What is the difference between a trigger and an action in GoHighLevel?
A trigger is the event that starts the workflow, such as a form submission or tag being added to a contact. An action is the task that happens after the trigger, such as sending an SMS, updating a contact record, or assigning a lead.
Why is my GoHighLevel workflow not running?
The most common reasons are that the workflow has not been published, the trigger conditions are incorrect, or filters are blocking contacts from entering the automation.
How many actions can a GoHighLevel workflow have?
A workflow can include multiple actions such as sending SMS messages, sending emails, assigning users, adding tags, or creating tasks. Complex workflows often include delays and conditional logic.
Recommended Automation Stack
Many automation agencies run a stack like this:
• GoHighLevel
• Zapier
• Make
• Google Sheets
This combination allows CRM automation, integrations, and data tracking.
Tools Used in This Guide
Most automation agencies use a stack like this:
• GoHighLevel — CRM and automation platform
• Zapier — app integrations
• Make — advanced workflow automation
Related Automation Guides
Continue building your automation system with these guides.
• How to Configure GoHighLevel Missed Call Text Back
• How to Connect GoHighLevel to Zapier (Step-by-Step Guide)
• GoHighLevel Workflow Not Triggering (Fix Guide)
• How to Build a Lead Nurture Workflow in GoHighLevel
• How to Set Up GoHighLevel Appointment Reminder Automation
Subscribe to Foundational Tech
Foundational Tech publishes technical documentation for automation builders, including:
• GoHighLevel configuration guides
• Zapier integrations
• CRM automation workflows
• troubleshooting automation systems
Subscribe to receive the next guide.
Related guides: If you found this useful, see our guide on How to Connect Claude AI to Your Shopify Store: 3 Automation Workflows That Replace a Part-Time Hire (2026) and A2X vs Link My Books vs Synder: Which Shopify to Xero Integration Fits Your UK Store? (2026 Guide).